Using ClimbPro to improve your climbing
In this blog post, Garmin Cycling Ambassador and Cycling Coach, Matt Rowe from Rowe & King, outlines how to get more out of your training using ClimbPro on the Edge series.
Cyclists’ relationship with positive gradients is usually mixed. Climbing is arguably the most rewarding part of cycling, with the physical challenge rewarding you with that sense of achievement and some of the most beautiful views, only visible from mountain / hill tops.
That said, climbing can be a painful and demoralising experience if you are unable to pace your effort.
Pacing your effort throughout a 100-mile ride is critical, with the most careful pace judgement being required for the climbs. The first question most of us ask when discussing a route is ‘how many climbs are there?’. A 100-mile ride with 10 climbs and 4000 metres of elevation is a totally different physical challenge compared with a 100-mile, flat ride.
Knowing how many climbs your ride has and exactly where they are, will help you pace yourself for the duration of your event. In general, living by the moto of ‘Start steady – finish strong’ will stand you in good stead.
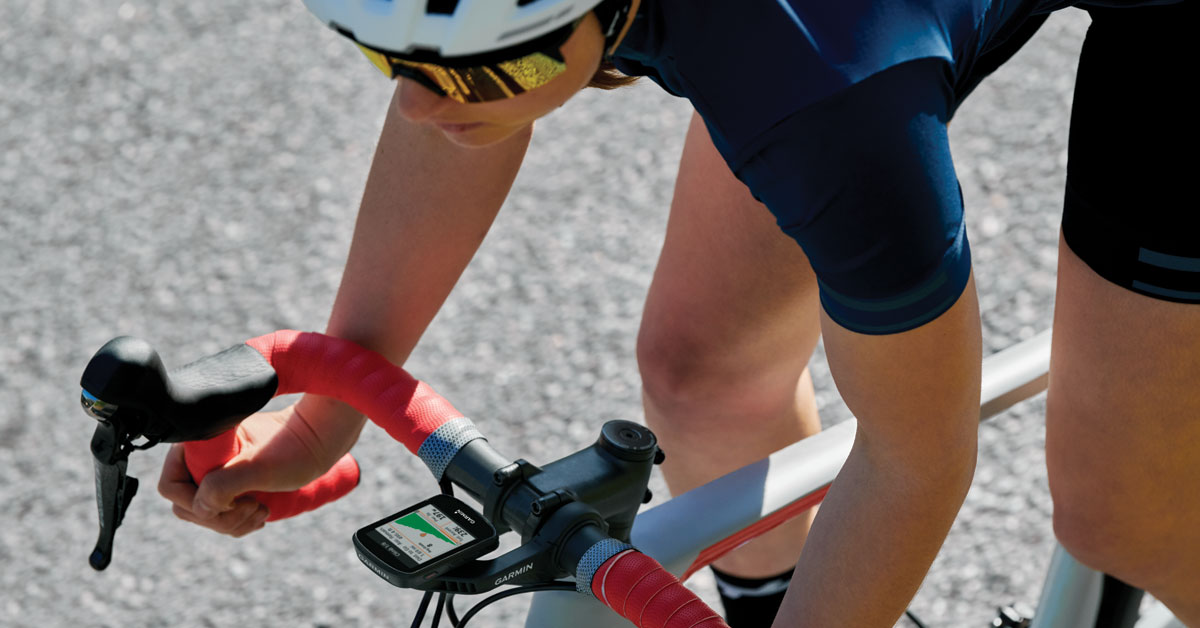
Recently, I’ve been using the ClimbPro feature on my Edge 1030 Plus (you may have followed my Instagram takeover here) to see how it can help support with my training during my rides.
ClimbPro features two unique modes, During a Climb and Out of Climb
- Out of Climb: This will show information for upcoming climbs from a separate data screen
- During a Climb: This will show the information for the currently active climb
Below I’ve outlined how I’m using the features within training rides:
Out of Climb
The Out of Climb screen will display the following information
- Total ascent remaining
- The total climb distance remaining
- The remaining distance to each climb (Dist. to)
- Average gradient for each climb (Grade)
- Length of each climb
If we agree that climbing is the toughest part of climbing, knowing how many vertical metres you have to climb, over what distance, lets you prepare for the remainder of the ride. With 30 miles to go in a ride – you would ride differently if you knew you had 3 climbs which gain 500m of elevation, compared with 30 miles which contained 3 climbs which total 2000m of elevation gain. Instantly, you are able to paint a picture of your remaining route.
Coupled with the specific upcoming climb information, you now know whether it’s time to get your head down and pull on the front as you don’t have a climb coming up – or if there is a climb starting in 2 miles, now may be a good time to take a breather, sit in the wheels and have that soggy banana you’ve carried around with you all day.
Knowledge is power – knowing what climbs are ahead of you on your ride helps with your pace judgement and fuelling. Just imagine unravelling your peanut butter sandwiches, just a few hundred metres before a steep climb!
Simply swipe right to see the Upcoming Climbs page, which will help you pace your effort throughout the ride.

During a Climb At the start of a climb, the ClimbPro screen, as shown to the left, will appear automatically. The information that the screen will display includes:

- The number of the climb including total climbs for the course
- The distance remaining in the climb (Dist. to Go)
- The ascent remaining for the climb (Asc. Remain.)
- A chart showing the profile of the climb
 represents where you’re currently at on the climb
 represents the course Virtual Partner (see How Does the Virtual Partner Feature Work When Following a Course or Segment)
- The bracketed section below the chart represents the image of the climb being shown
- Average grade for the climb
- Two configurable data fields (defaults are Grade and Elevation)
As you approach a climb, ClimbPro will alert you that you are approaching a climb – one final chance for a drink! Once you hit the climb, your Edge device will flash ‘Go!’ which is your signal – NOT to go flat out! Remember all I wrote above about pacing – that stuff still remains!
On a more ‘micro’ scale, pace judgement on individual climbs is also critical. Your pacing strategy will depend on the length and gradient of any given climb, e.g.
Climb A – 3km, 2km at 3%, with final 1km at 10%
Climb B – 3km, 1km at 10%, with final 2km at 3%
Let’s say Climb A and B would take you 15 minutes to ascend flat out – it is helpful to know the effort you can sustain (ideally in Watts if you have a power meter) for the duration.
If the gradient was even for the whole 3km, then your pacing strategy would also be even, however, when the gradient varies, you want to ride the hardest parts of a climb harder than the easier / flatter sections.
Pacing strategies;
- Climb A, that means a steady start (riding just below your 15-minute max), to enable you to finish strongly up the steepest and hardest part of the climb.
- Climb B – you will want to get through the 10% 1km section of the climb as quickly as possible, to minimise the amount of time you spend riding slow. This where you ride above your 15-minute power, safe in the knowledge that the climb flattens out for the final 2km, where you can ease back your effort slightly.
The above pacing strategy talks about a nice and convenient 3km climb, with a super steep section in each. In reality, most climbs are more undulating, which means ClimbPro knowledge is even more powerful, as you should be measuring and adjusting your effort throughout a climb, as the gradient changes. Riding a little harder when it gets steep, and allowing a little respite when the gradient flattens out.
Matt Rowe,
Rowe & King Coach


